Building a Better DVD+R Part One
One of the off-shoots of my film appreciation hobby is building my own DVDs, which is good if you don't like to pay outrageous prices for obscure boot-legs of either OOP movies (out of print, meaning there are no pre-record releases of the film in production as of the moment...yet there had been at least one release in the past) or films that have yet to be made available in the DVD format.
Which isn't as odd as it seems....take for example two of my favorite films: Disney's Song of the South and the 1980s kiddie-horror comedy The Monster Squad...neither are available in the U.S. in the DVD Region 1 format...outside of pirated bootlegs. And, for instance, the 1933 version of King Kong wasn't available on disc until last winter...nearly a full decade since the DVD format had become common place...and, to boot, hadn't been available in any kind of pre-record manufacturer video format (VHS, laser disc, etc.,..) since 1991....
Now..I'm gonna stop here and tell you my personal policy on bootlegs and piracy:
Video piracy is wrong. Bootlegging is wrong. Pure and simple. Trying to turn a buck on the artistic endeavors of others is bad.
But....
I do condone the notion of fan copies.
Fan Copies, by definition, are pretty much like the mix tapes we all used to make in high school for friends to give them a chance to maybe check out bands we were listening to and hopefully turn them onto. We did it for free, because the only thing that it cost us was the cost of the blank tape, a little time and effort, and our appreciation for said artists.
Now....my personal definition of a fan copy of filmed media is this:
1.) There is no manufacturer pre-record release available.
2.) I make these copies for my own personal enjoyment and appreciation. Never do I try and make a profit. Basically this is stuff I make for my own personal use. If yer a good enough friend, I'll make you a copy, for free...because I want you to discover and appreciate this obscure piece of pop culture along with me.
If one takes the time to look around, one will discover a network of folks out there that have the same policies that I do, and are happily willing to share their collections. This is why I have the entire 1966-68 Adam West/ Burt Ward Batman tv show (another one of those amazing examples of an extremely popular piece of pop culture not available yet for purchase) and the entire 1979 Amazing Spider-Man live action tv series on DVD, yet you can't buy it off the shelf. Through the kindness of other fans and a li'l bit of elbow grease on my behalf, I have a unique addition to my DVD collection that fellow comic book geek fanboys marvel at.
If anyone tries and gets you to pay for a fan copy....report their ass, and ya might collect 500 bucks...bootleggers and pirates make the DVD hobby a dirtier place for fans like myself who just want the chance to see something that's not easily available to general audiences. I'll admit I'm no angel....I've purchased one bootleg video in my entire life...a 4th or 5th generation dub VHS copy of the infamous Roger Corman early 1990s Fantastic Four movie during sometime in the winter of 1994...and that was because I was young and dumb and didn't know any better. But don't be a dupe (pun intended), piracy is bad. Don't support it.
A Li'l Bit of Elbow Grease
Now that we've got that clear...I'm gonna show you how it's done.
What you need are:
A Computer (duh)
PC: Windows 2000 and above. I personally use XP Professional 2003.
Mac: I haven't a clue....you Mac people speak Greek to me.
A DVD-ROM/+R/-R burning drive: I use a cheap Lite-On DVD Dual I purchased at Wal-Mart for around 50 bucks for most burning.
DVD+Rs: I prefer the +R format to the -R. Seems you have a better chance at playback capability with most over-the-counter DVD players, whereas the -R is kinda iffy sometimes. What the exact difference between the two formats is I haven't a clue...I just wish they'd phase one out and/or make a universal format that all drives, burners and players would confirm to.
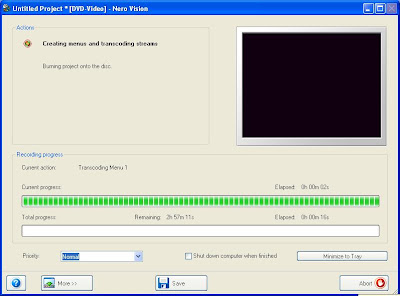
A DVD burning program: There are several out there, but the simplest in my mind (as well as the one that multitasks the most, enabling one to burn data discs CD-Rs and DVD+Rs with the most effiency) are any of the Nero products. I personally use Nero 7 Ultra Premium...it's a little pricey...running around 70 bucks, but it gets the job done.
Now that you have all this cool gadetry and the discs to stick stuff on....yer probably gonna need some stuff, right? There are several places to get video media on the net...Bittorrent comes to mind...but if ya want a cornicopia of stuff that you'll have no worries about piracy or bootlegging, check out The Internet Archive , a nice little web resource that just happens to be one of the biggest dumping grounds for public domain material around. You can spend hours there either watching or downloading free, rights waived material...and you'd be surprised what you'll find. Just check out their Moving Images section....which where I found a copy of a video file of the 1936 sci-fi epic Things to Come . For this little endeavor, I choose to use the mp4 format....the compression is crazy, but once formatted to the disc, the picture quality...though a bit choppy...is good enough for my own personal uses.
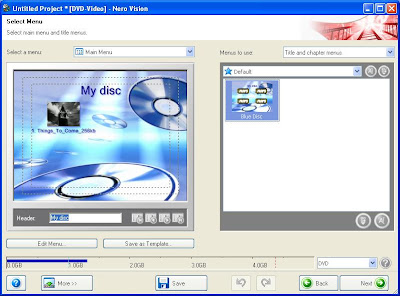
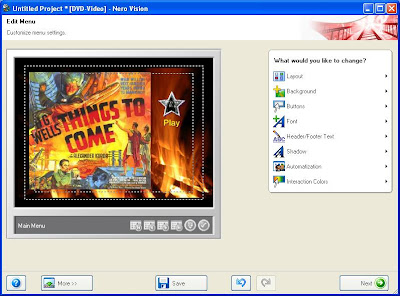
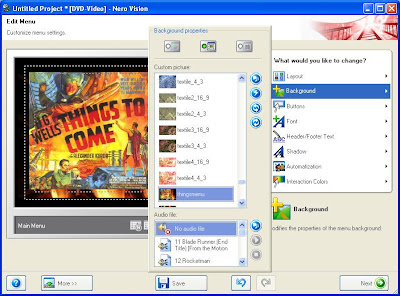
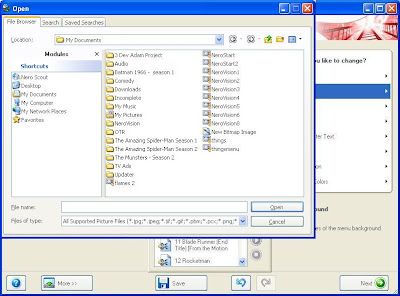
Next...I design a menu screen for my DVD. Basically, I just do a Google image search for "Things to Come" and some nice images of some of the one-sheets for the film popped up. So...after a little monkeying in Windows Paint, I make my menu:
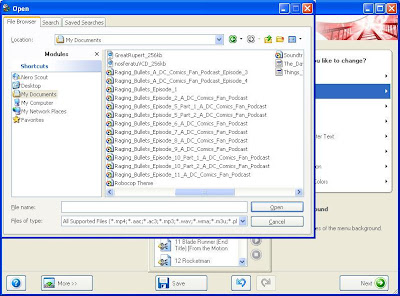
Next....I choose a song to go along with said menu. I go with one of my favorite pieces of film music, Basil Poledouris' theme for the film Robocop...it seems to posses the right amount of Wagnerian overtones tp fit the imagery presented by the one-sheet.
It's important to go ahead and do any menu image building prior to actually burning your disc, because the program tends to eat up alot....and I mean alot...or processor effort. Pentium 3 and 4's even seem to struggle and lag. So be warned.
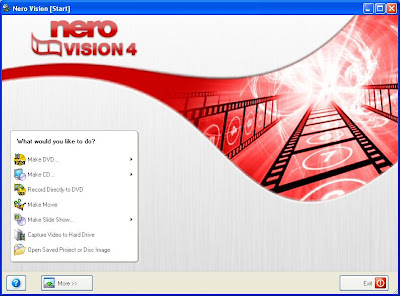
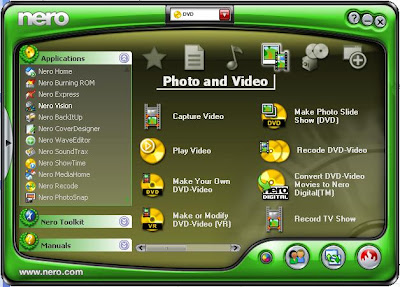
Next....open up Nero's StartSmart application, that's switched to the "DVD" and "Photo and Video" tabs and utilize the Nerovision option:
Building a Better DVD+R Part Two
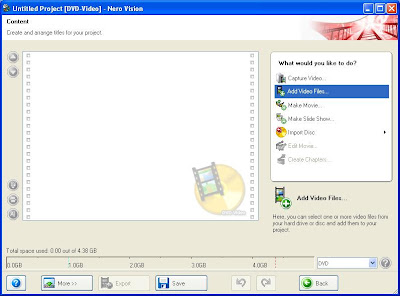
After you've openned the neccessary Nero applications...you'll be brought to this screen. Be sure to choose the "Make DVD" option and the "DVD-Video" tab:
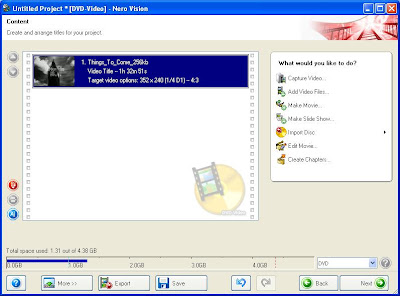
Next, you be asked to imput your video files...You can do this by choosing the "Add Video Files" option, naturally:
