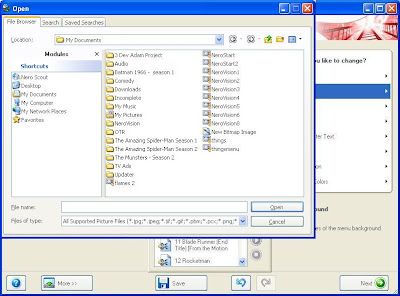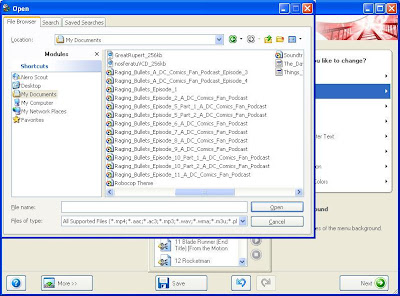
You can also upload and choose whatever desired music or soundfiles you choose for your finished menu during this phase, as well.
After you've finished here, just click "Next" until you're brought to a screen that basically shows you what your finished product will look like while it's playing a DVD player.
This screen should operate just like a DVD's menu....mouse over the "Play" button and click it and it should play your file. You can also mouse over the remote pictured on the screen to achieve the same functions.
Don't be worried if there is a lag in the picture or sound while playing....remember, this is just a crude preview of the finished results. Happy with what you see? Then click "Next". This will give a screen that informs you of specifics concerning the disc...how much info you're trying to burn to the disc, options to choose which drive you wish to burn it on, etc.,. This is the last menu you can visit that you are eligible to stop the process and go back a step or two to configure your menu or video preferences before the burning begins. Remember that at anytime, you can save your progress and visit it again by using the first screen's "Open Saved Project of Disc Image" option....
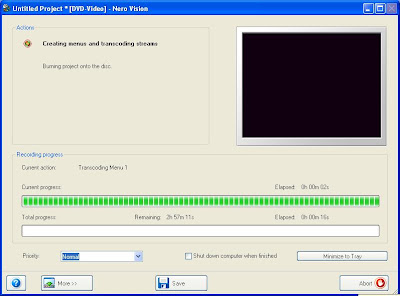
Finally, there's this screen, which keeps you up to date on the progress of the burning disc and provides a small video preview of how far along in the disc the file has been transcoded into a format that the program can use to construct and burn the final disc.

And....that's it. Follow these steps and you'll be on your way to enjoying fan copies of your own.


No comments:
Post a Comment