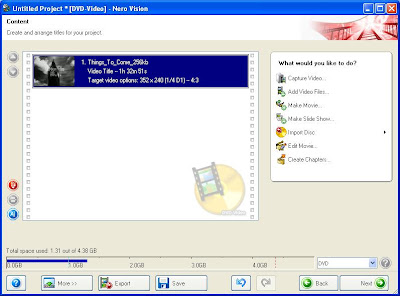
You can do this by choosing the "Add Video Files" option, naturally.
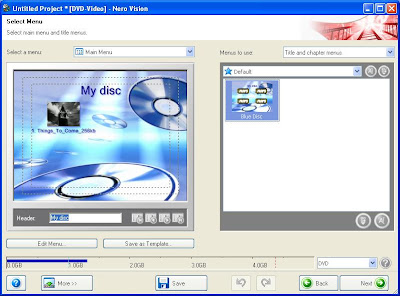
Then...you build your menu after clicking the "Next" button. Once you get to the next screen....you can do this by clicking the "Edit Menu". Also, you'll notice highlighted in blue are the words "My disc". If you don't want this on your final menu...simply click on it and delete the highlighted words prior to clicking the "Edit Menu" button.

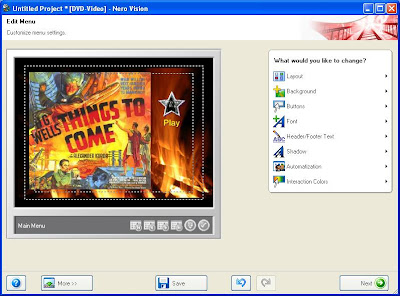
After entering the menu that allows the editing of your menu, you'll notice several tabs on the sidebar that when clicked will allow you to do several things, such as choosing a layout for your play buttons, choosing different fonts for any text you choose to allow in your menu, etc.,...
I've found that playing around with the program a bit before actually burning a disc allows one to figure out and educate oneself on how to achieve the desired effects one wants for their disc.

You can determine the placement of your play button by clicking on it and dragging it to the desired place on your menu. You can edit any text the button has by double clicking the button, which will prompt a specific screen that allows you to do just that....
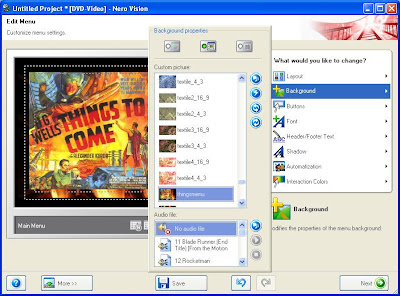
You can enter your self-designed menu picture during this phase by choosing the "Background" tab on the sidebar:


No comments:
Post a Comment